VoltDrive How-to Videos
VoltDrive Learning Hub

How-to Videos

Explore focused visual guides for car audio, display systems, dash cameras, backup cameras, power accessories, diagnostic tools, and connected driving technology. Each chapter is organized to help you understand the product, prepare the vehicle, and complete setup with greater confidence.

06 Core installation categories
04 Featured video lessons
24/7 VoltDrive customer support
Car head unit installation tutorial preview
Featured Guide Head unit and in-dash display setup
Choose a Series

Start With the Right Guide

Each series focuses on a specific group of automotive electronics. Review the preparation notes first, then move to the corresponding video lesson for a clearer view of placement, connection planning, testing, and final setup.

Six Core Topics
Car stereo and floating display installation preview Audio Series
Guide 01

Head Units and Stereos

Learn how to plan a factory radio replacement, confirm dashboard compatibility, organize adapters, protect vehicle trim, and test the new display before final reassembly.

Confirm the correct dash kit, interface, antenna adapter, and compatible wiring solution.

Review steering wheel controls, factory cameras, amplifiers, and vehicle-specific features.

Test audio, touchscreen response, Bluetooth, navigation, and camera input before closing the dashboard.

Watch This Chapter
Car amplifier installation tutorial preview Sound System
Guide 02

Amplifiers and Subwoofers

Understand placement, signal planning, ventilation, cable organization, and system testing for amplifiers, speakers, and subwoofers without crowding the vehicle interior.

Select a stable mounting area with airflow and clear access for inspection.

Keep signal cables, power paths, and speaker connections organized and protected.

Begin with conservative gain and crossover settings before making sound adjustments.

Watch This Chapter
Dash camera installation tutorial preview Camera Series
Guide 03

Dash Camera Setup

Review camera position, windshield visibility, cable planning, memory card setup, recording settings, and final field-of-view checks for a clean installation.

Place the camera where it does not obstruct the driver's view or vehicle sensors.

Keep cables away from airbag deployment paths, moving trim, pedals, and steering components.

Verify date, time, recording loop, storage, microphone, and parking settings.

Watch This Chapter
Backup camera installation tutorial preview Safety Series
Guide 04

Backup Cameras and Sensors

Plan camera height, viewing angle, display input, cable routing, and final calibration for backup cameras, parking sensors, and blind spot monitoring accessories.

Choose a centered camera position with a clear view of the vehicle's rear path.

Protect connections from moisture, vibration, heat, and moving exterior components.

Confirm image orientation, parking guidelines, sensor range, and display switching.

Watch This Chapter
Modern vehicle interior with connected electronic controls Power Series
Guide 05

Chargers and Power Accessories

Organize car chargers, USB hubs, power inverters, Bluetooth adapters, Wi-Fi hotspots, and cable connections for convenient everyday use without creating dashboard clutter.

Check the product rating and the vehicle outlet capacity before connecting accessories.

Allow ventilation around power inverters and avoid covering heat-dissipation areas.

Secure cables where they cannot interfere with driving controls or passenger movement.

Review Preparation
Automotive dashboard and electronic diagnostic display Diagnostic Series
Guide 06

OBD2 and TPMS Setup

Learn the basic setup flow for OBD2 scanners, tire pressure monitoring systems, Bluetooth adapters, and mobile diagnostic applications.

Confirm vehicle compatibility, connector location, application requirements, and supported functions.

Pair devices while the vehicle is safely parked and follow the product's connection sequence.

Use diagnostic information as guidance and seek qualified service for unresolved vehicle warnings.

Read Common Answers
Video Theatre

Installation Video Library

Watch each lesson in full before beginning. Pause at major stages, compare the demonstration with your product manual, and confirm that every component is compatible with your specific vehicle.

Audio and Display Video 01

Installing a New Head Unit

Review dashboard preparation, fitment planning, connection organization, testing, and final assembly.

Cameras and Safety Video 02

Installing a Dash Camera

Learn camera placement, clean cable planning, visibility checks, recording setup, and final testing.

Parking Assistance Video 03

Installing a Backup Camera

Review camera positioning, display planning, protected routing, image orientation, and calibration.

Sound System Video 04

Installing a Car Amplifier

Understand mounting, ventilation, signal organization, protected connections, and initial sound testing.

Important: These videos provide general educational guidance. Product designs, vehicle wiring, airbags, factory interfaces, and trim construction vary. Always follow the instructions supplied with your product and vehicle, and use a qualified automotive electronics installer whenever the work exceeds your experience.

Preparation

Before You Begin

A clean installation starts with careful preparation. Confirm fitment, organize components, protect the interior, and understand the vehicle systems located near the installation area.

Modern vehicle interior prepared for an electronics installation
Safety First Keep cables and equipment away from airbags, pedals, steering components, sharp edges, heat sources, and moving vehicle parts.
Recommended Workflow

Watch in the Right Order

Use this sequence for a more organized project and fewer avoidable fitment or connection issues.

01

Confirm Compatibility

Check the product size, vehicle year, dashboard fitment, electrical requirements, adapters, and supported factory features.

02

Review the Full Video

Watch the complete lesson before removing trim or connecting equipment so the full workflow is clear.

03

Read the Product Manual

Compare the general video guidance with the exact instructions, warnings, diagrams, and settings for your device.

04

Prepare the Vehicle

Park safely, protect interior surfaces, organize tools, and follow the vehicle manufacturer's power and battery guidance.

05

Test Before Reassembly

Verify display response, audio, cameras, sensors, Bluetooth, charging, and other connected functions before closing panels.

06

Complete a Final Check

Confirm that all trim is secure, cables are protected, controls move freely, and the installation does not obstruct safe driving.

Common Questions

How-to Video FAQ

Review these answers before selecting a guide or beginning a product setup.

How do I know which video is right for my product?

Start with the product category shown on your order or product page. Head units and stereos belong in Audio and Display, dash cameras and backup cameras belong in Cameras and Safety, and chargers, inverters, adapters, and hubs belong in Power and Connection.

Are the videos specific to every vehicle?

No. The lessons demonstrate general installation concepts. Dashboard design, factory wiring, airbags, vehicle interfaces, camera integration, and trim removal methods vary by vehicle. Always confirm vehicle-specific information before beginning.

Should I watch the entire video before installation?

Yes. Watching the complete guide first helps you understand the sequence, identify required components, anticipate access points, and recognize stages where professional assistance may be appropriate.

What should I do if my connectors do not match?

Stop the installation and confirm the product model, vehicle compatibility, and required adapter. Do not force connectors or modify factory wiring without verified instructions and appropriate experience.

Can I install a dash camera near an airbag?

Camera cables and accessories must not interfere with airbag deployment paths. Airbag locations vary by vehicle, so consult the vehicle documentation or use a qualified installer when routing near pillars, headliners, seats, or dashboard safety systems.

When should I use a professional installer?

Professional installation is recommended when the project involves unfamiliar vehicle wiring, factory amplifiers, data interfaces, airbags, high-current equipment, difficult trim removal, exterior drilling, or any step you cannot complete confidently and safely.

What information should I prepare for support?

Prepare your order number, product name, vehicle year, make and model, a description of the issue, and clear photos of the product, connectors, dashboard area, or displayed message.
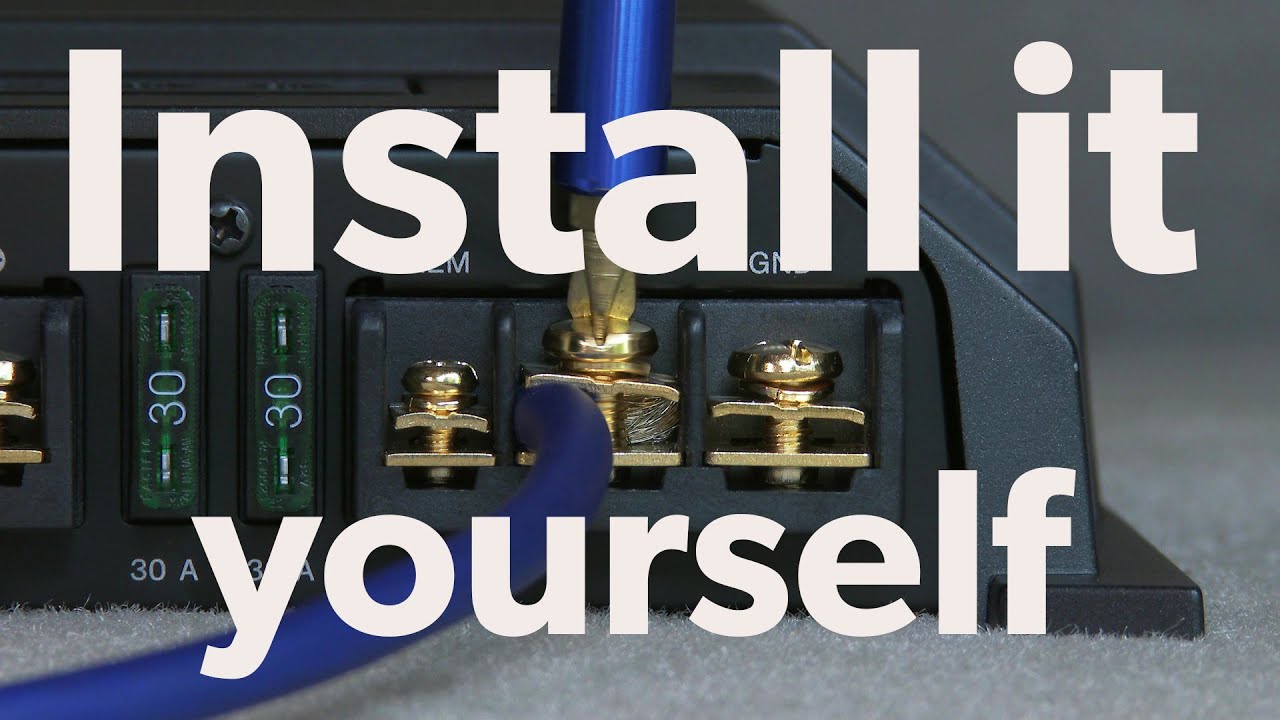
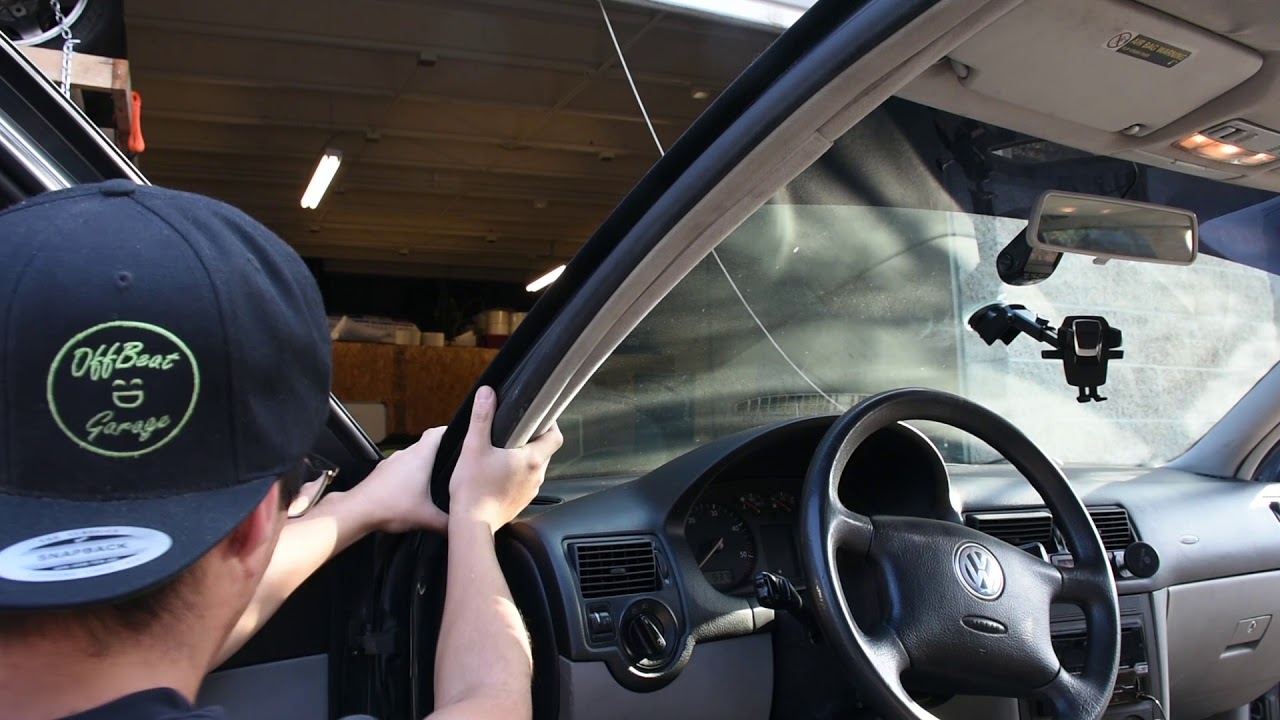
VoltDrive Support

Need Product Guidance?

Our support team can help you identify the correct guide, review basic compatibility information, clarify product features, and direct you to the appropriate documentation before installation.

Support Email support@voltdrive.mom
Support Phone +1 989-631-7506
Business Address 528 S Warren Ave, Big Rapids, MI 49307, United States
Support Availability 24/7 customer support for VoltDrive product and order questions.